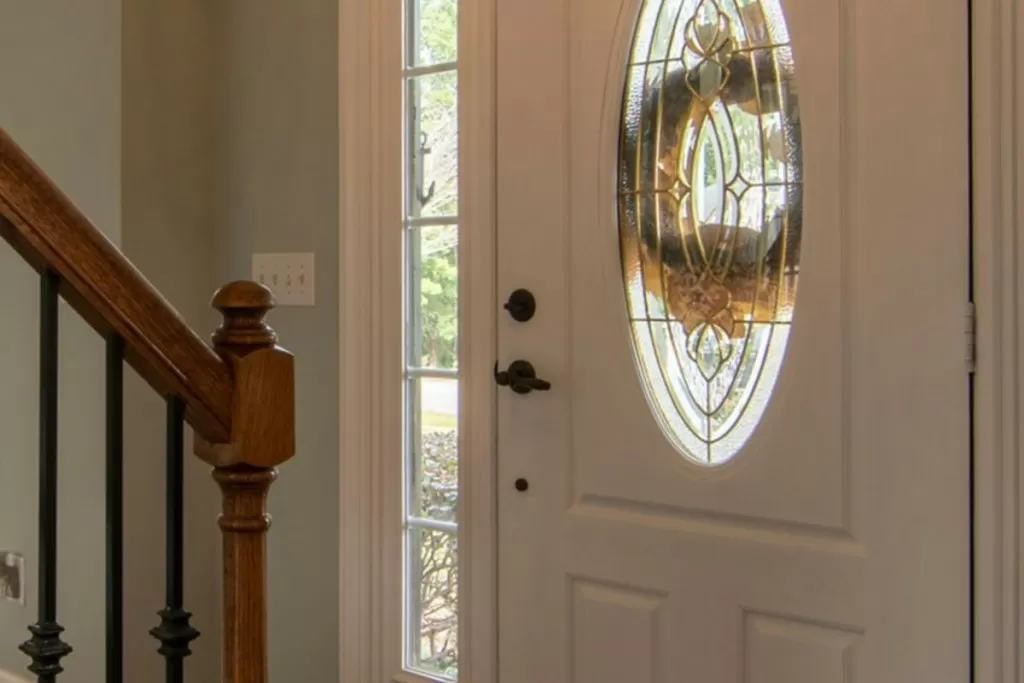
Changing the locks on a house is an important task that new homeowners should prioritize after moving in. This simple yet crucial step can help ensure the safety and security of your new home, giving you peace of mind and a sense of control over your living space. In this guide, we’ll walk you through the process of replacing your locks so you can easily and confidently make your new house feel like a true home.
The first step in changing your locks is to assess the current state of your home’s security. You may have already received a set of keys from the previous homeowners, but it’s important to remember that you have no way of knowing how many copies of those keys are floating around. This uncertainty can pose a potential security risk, especially if the previous owners had multiple copies made for friends, family, or even contractors. In addition, if you’re moving into a previously owned home, it’s possible that the locks have not been changed for many years, leaving them vulnerable to wear and tear. With these factors in mind, it’s clear that changing the locks should be one of the top priorities for any new homeowner.
The next step is to decide on the type of lock you want to install. There are several options available, each with its own benefits and features. The most common type of lock is the traditional key-in-knob lock, which offers a basic level of security. If you’re looking for something more advanced, you may want to consider a deadbolt lock, which provides an extra layer of protection against forced entry. For those who prefer a more convenient option, there are also keyless entry locks that use a code or fingerprint instead of a physical key. Whichever type you choose, be sure to research and compare different brands and models to find the best fit for your needs and budget.
Once you’ve chosen your new locks, it’s time to gather the necessary tools for the installation process. This typically includes a screwdriver, a measuring tape, and possibly a drill or chisel. It’s also a good idea to have some spare screws and strike plates on hand, just in case you encounter any issues during the installation. If you’re not confident in your DIY skills, it’s always a good idea to hire a professional locksmith to ensure the job is done correctly and efficiently.
Before you begin the installation, make sure to thoroughly read the instructions provided by the manufacturer. This will give you a clear understanding of the steps involved and any specific requirements for your chosen lock. It’s important to follow the instructions carefully to avoid any potential mistakes that could compromise the security of your new locks.
Once you’ve successfully installed your new locks, it’s important to test them out to ensure they are functioning properly. Try locking and unlocking the doors from both the inside and outside to make sure everything is working as it should. If you encounter any issues, refer back to the instructions or contact the manufacturer for assistance.
In addition to changing the locks on your exterior doors, it’s also a good idea to consider changing the locks on any interior doors that may lead to areas of your home that you want to keep secure, such as a home office or a storage room. This will give you complete control over who has access to these areas, providing an added layer of protection for your belongings.
In conclusion, changing the locks on your new house is an essential step that should not be overlooked. By taking the time to assess your home’s security and installing new locks, you can ensure the safety and privacy of your new home. With the wide variety of lock options available, you can find the perfect fit for your needs and budget. Whether you choose to do it yourself or hire a professional, following these simple steps will give you the peace of mind and sense of control that every homeowner deserves.

